
How to Post an Event to the Website
This page is located in the Members section under Admin Pages. It is intended for members who are helping to post new Events to the website. There are a number of steps required and fields that need to be filled out in order for the new event to display properly and to automatically email to members and post to social media. Events display in a dropdown as either Past Events or Upcoming Events. New Events display in Upcoming Events.
UPDATING THE PAGE: To add section for adding text or image (display the + section), all changes must be SAVED (top left corner). Then you can add a section, insert an image, etc. To edit an existing section, mouse over it and the options will appear above it. You don’t have to have everything saved.
There is a LIMITED Undo at the top left IF you have not saved the changed. Once you SAVE, it’s Saved. It’s a big ugly.
POST-Meeting: After the meeting video is posted, go back into the event and do this:
Click on the Event to get the main page text, not Settings.
Edit the Button text- change from Zoom link button to Meeting video link (edit the text which changes the button text).
Change the Button video link to the correct meeting video entry (monthly entry, not the Youtube entry).
FYI - We link any references to the specific video monthly entry which contains the Youtube link. Event/News Blog entry <- specific monthly meeting video file <- YouTube link.
Add a new event
Duplicate event
The EASIEST way to do this is take a similar event and, in Settings, scroll down to Duplicate. A new listing is created with (Copy) after the title. Then edit from there. You may have to move it to the proper location in the dropdown.
Create from scratch
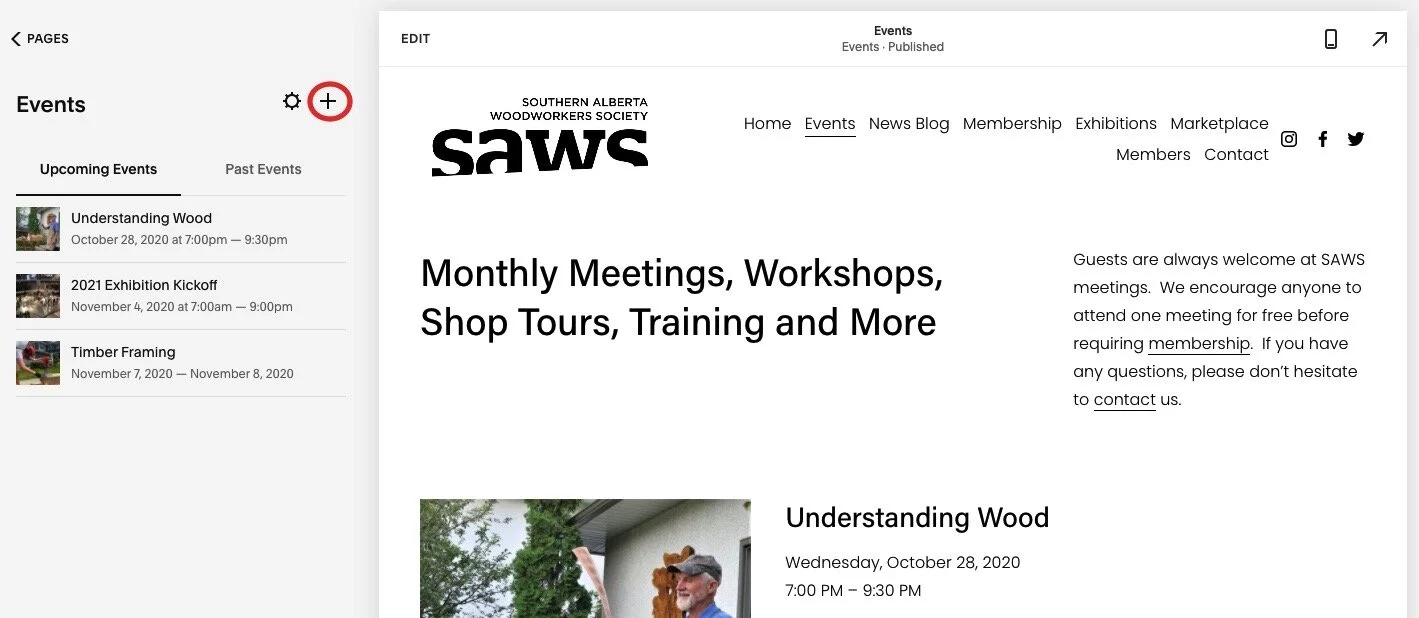
Log into SquareSpace and navigate to to the Events page. The setup: The event displays in 2 parts - a summary on the Events page and a detail page. The app automatically creates the 2nd page and a link to it from the Summary page.
First, enter the title, date and location (if public). Then you add the body with all the details. Save. You will add the summary information in Settings. This info goes on the Events Page. It’s kind of backwards.
In the Events menu, click the + to add a new event.
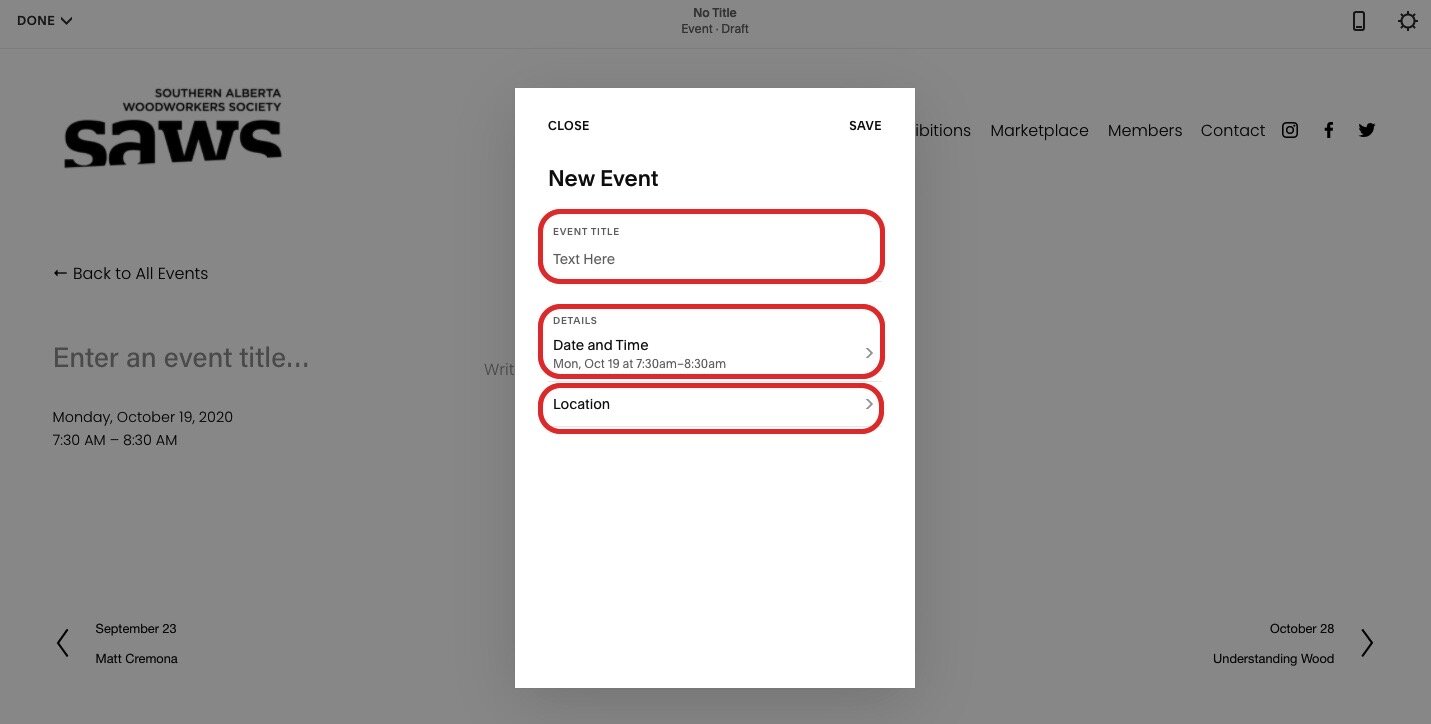
Title, Date/Time and Location: You will be automatically entered into edit mode and prompted to enter a Title, Start/End dates and times, and Location. The Date field opens a calendar for selecting the date/times.
Location : Only enter a location here if the event is being held at a public location. We do not want to advertise SAWS member addresses in the Event entry because it is public.
Then SAVE your changes (top right).
Now the app creates the event with the summary, link to detail page and the detail page.

Click on Event Start then time, Event End then time
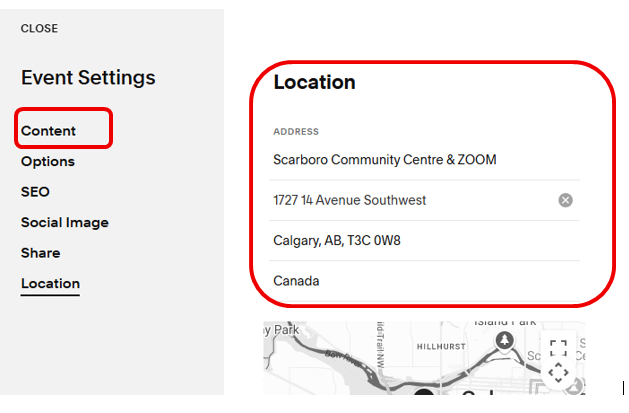
Location: Enter the Community Centre location. The app will automagically enter a map. However, if you duplicated an existing event, the location is probably already there. Check to make sure it’s okay. DO NOT enter a member’s address here. For Shop Tours at member’s houses, the addresses are provided to participants in a private way. The Event entry is PUBLIC so we only show the public meeting place or leave it blank (or default is New York).
Body: After adding the title, date/time and location, the event will be in edit mode and you can work on the body (details) of the event. Text can be copied and pasted from other documents. Check out an existing event post and follow the same layout
Picture at top
Description of event
Admission
Location details if not already entered in the previous step
The body text here contains the DETAIL that will appear in the detail page of the event (app automatically creates detail page). Click in the text box to get started. It’s kind of backward with adding the detail here. The summary description which appears on the main event page is added in Event SETTINGS > Content > Excerpt.
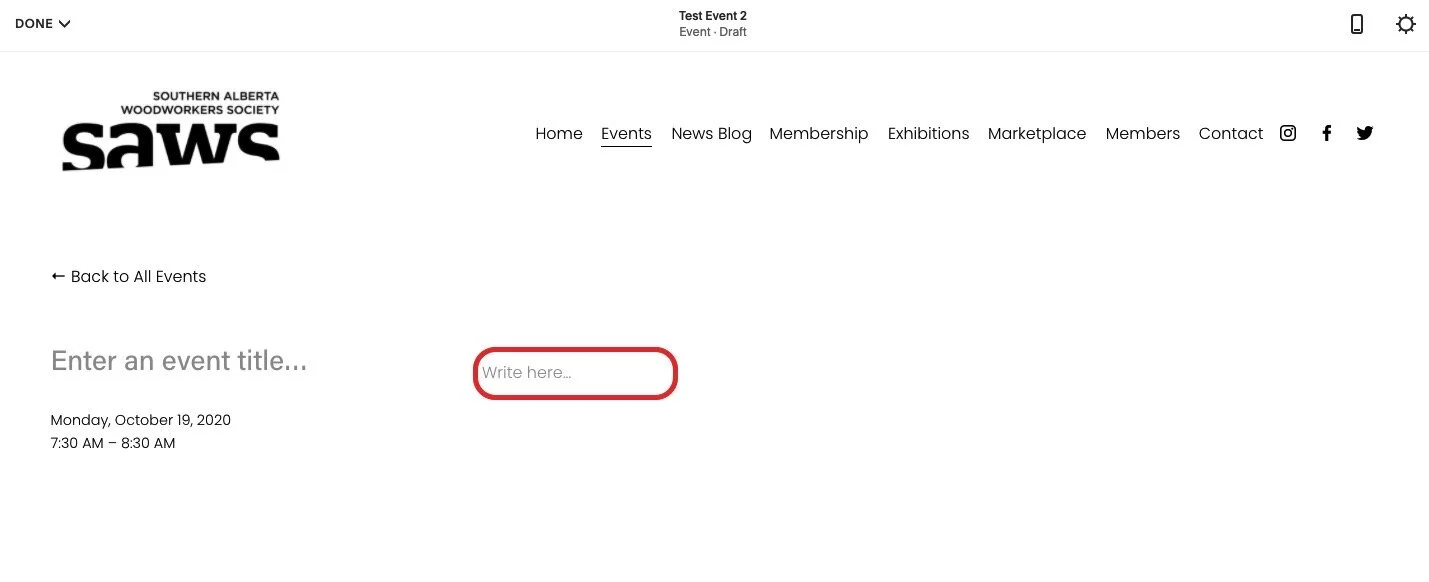
Enter Body detailed info - click in “Write here” box.
Add Pictures: >>IF adding pictures to the body of the post.<< Many posts will not have a picture.
When editing the body of the post, hold your mouse to the left of the text. At least one insertion point should appear. Click an insertion point to open the insert page.
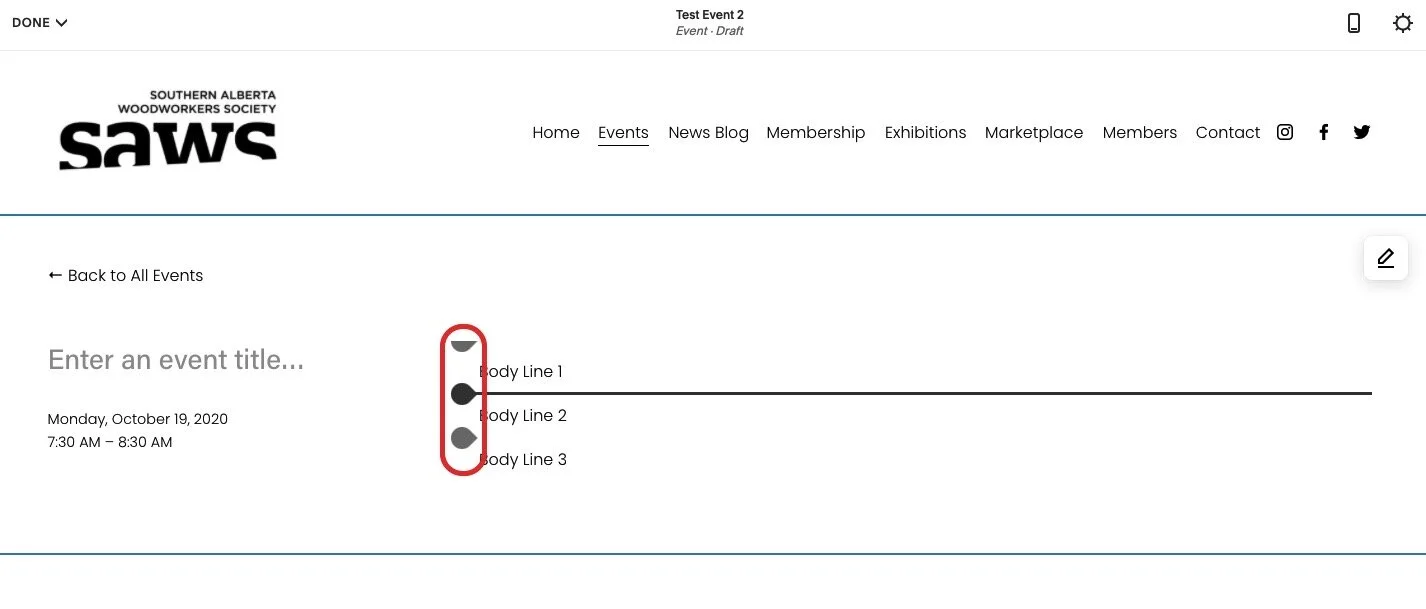
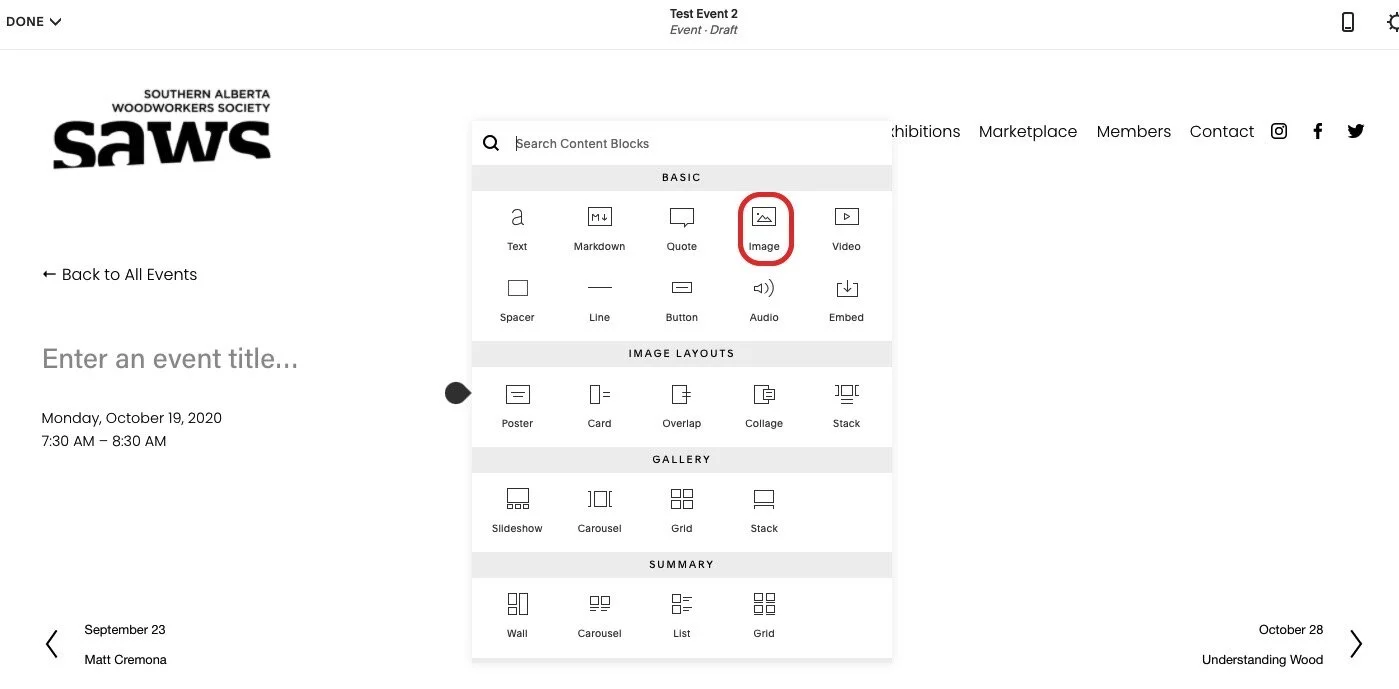
Cont’d - Add picture - Click the image icon to insert an image.
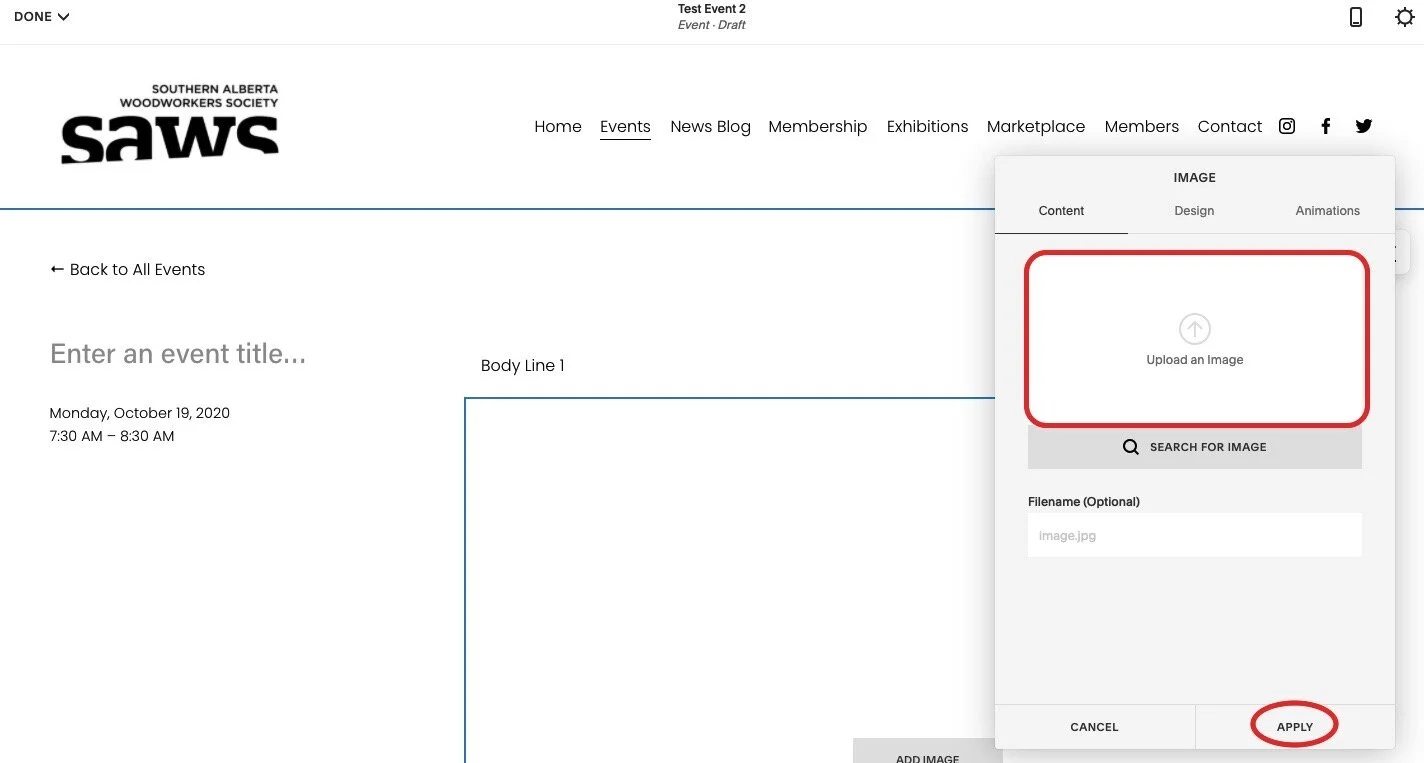
Cont’d - Add picture - Drag and drop the image onto the image box then click apply.
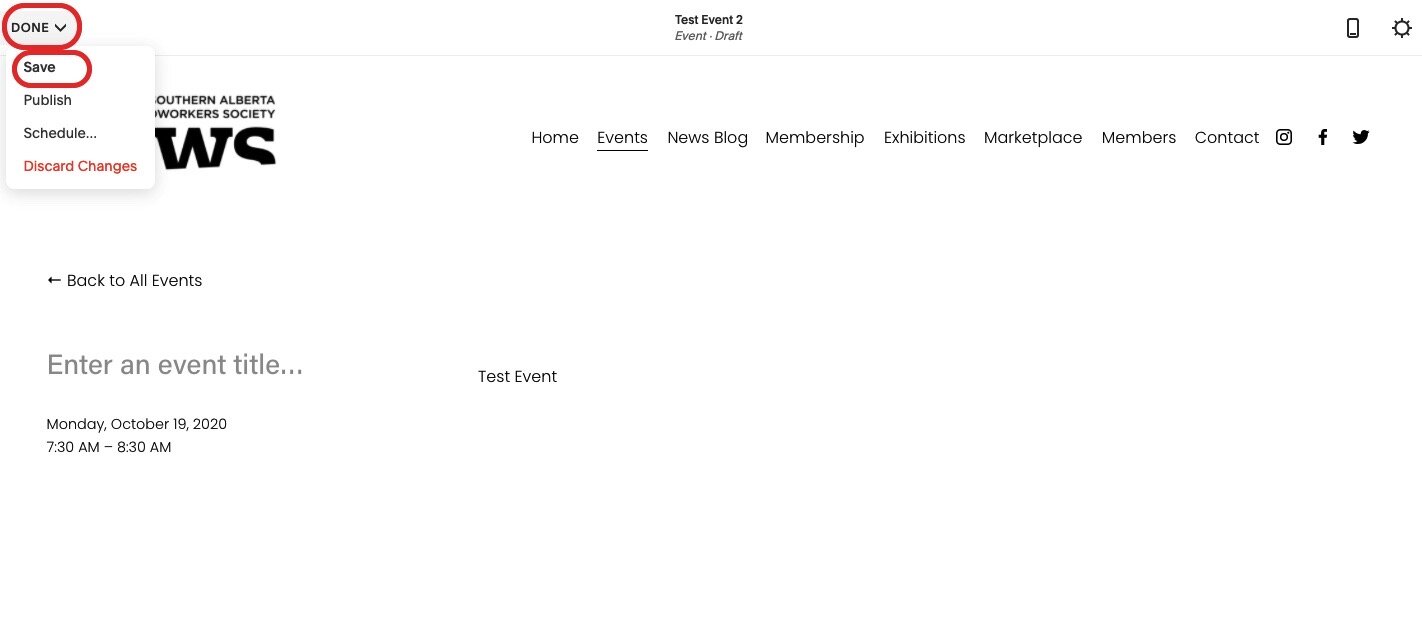
Save Changes: To save the changes you have made to the post title and body, click Done and Save. You could also click Done and Discard Changes if you do not want to save the changes.
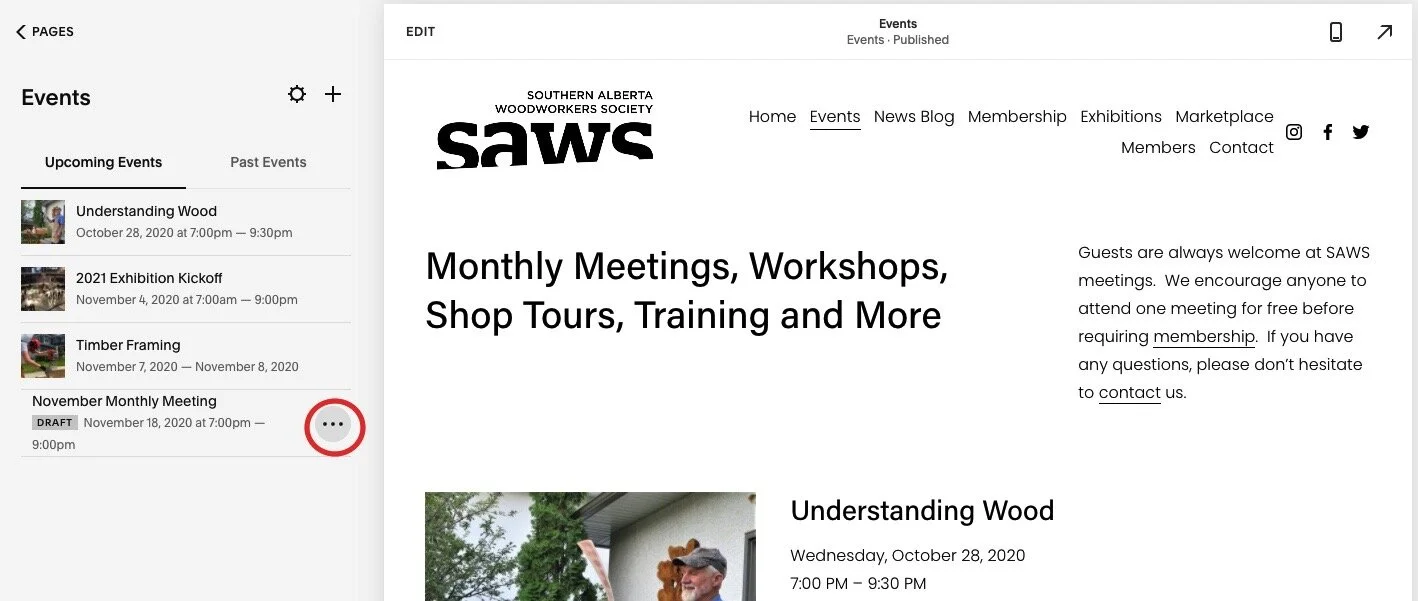
SETTINGS Menu: Click the three dots next to the new event on the left.. We typically only use the Content and Options menu items. Ignore the rest - SEO (Search Engine Optimization, Social Image, Share, Location). Location is entered when initially creating the event.
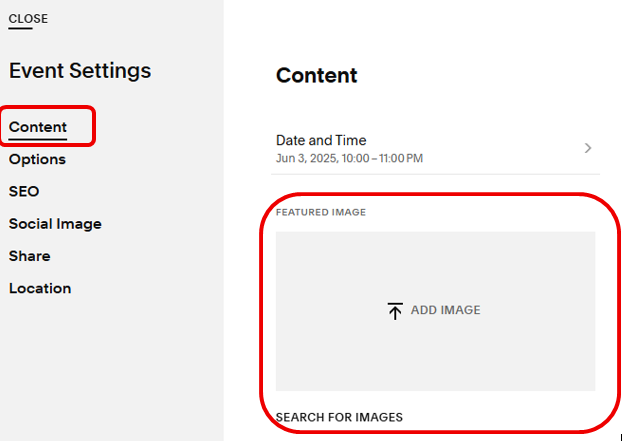
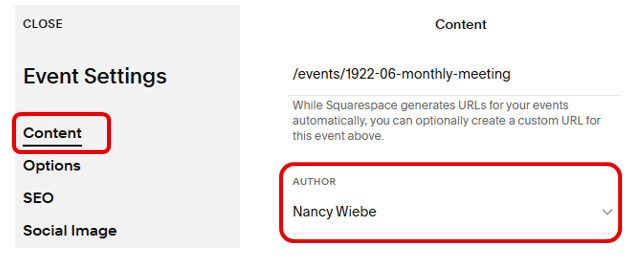
In the Content section, add the following information: Date/Time (doublecheck), Thumbnail picture, Excerpt (brief event description), Event URL, Author, Location if not already done.
Thumbnail picture: First save the photo to your computer. Select SETTINGS>CONTENT, then upload/drag and drop the thumbnail image to the box.
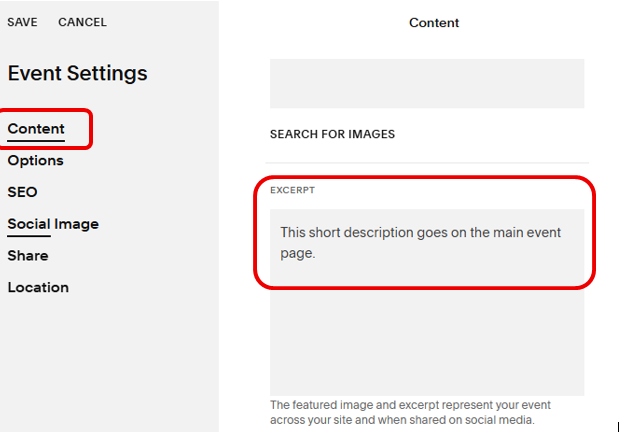
Excerpt: Select SETTINGS>CONTENT and scroll down to Excerpt. This little blurb will appear on the Event main page as the event descriptor. Keep it short.
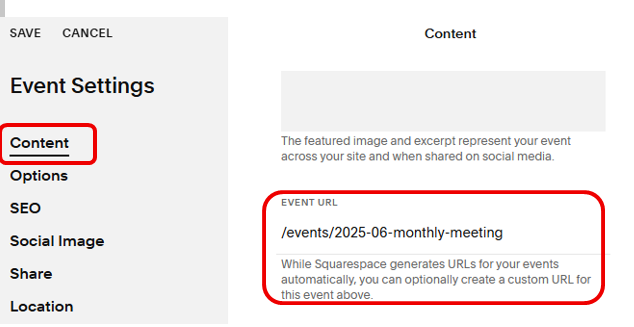
Event URL: Select SETTINGS>CONTENT and scroll down to Event URL. The prefix is automatically “/events”. Add YR-MONTH-Monthly-Meeting for the meeting description (e.g., /events/2024-05-monthly-meeting). The URL text description will vary depending on the event type of event.
Author: In SETTINGS > CONTENT, scroll down to Author. Enter from the dropdown list. The Author will not usually be the Webmaster. WHO UPDATES THE DROPDOWN LIST MENU?
OPTIONS MENU - Setting the Event Status from Draft -> Needs Review -> Published.
We don’t normally use Tags for Events. We DO use them on the Blog Entry.
We don’t normally use Categories, Comments or Feature Event options.
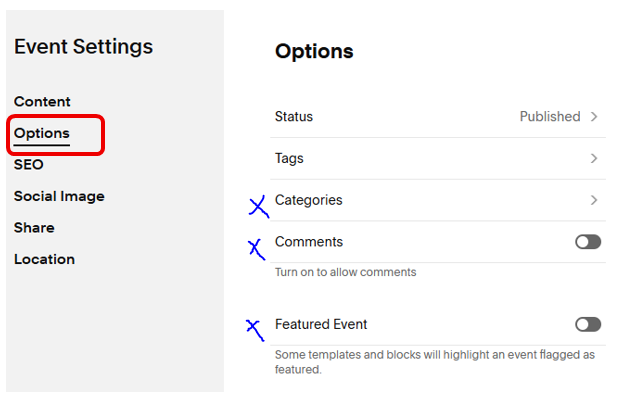
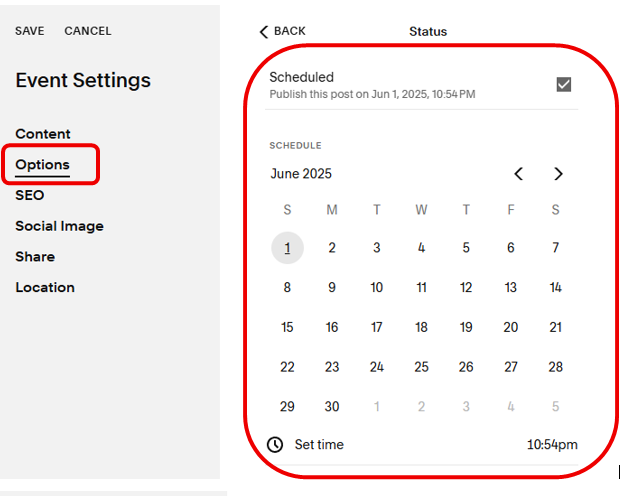
Set Event Status. Select SETTINGS > OPTIONS > STATUS. The status automatically starts as DRAFT.
Needs Review: Once the blog is all setup, please change the status to “Needs Review” and SAVE it.
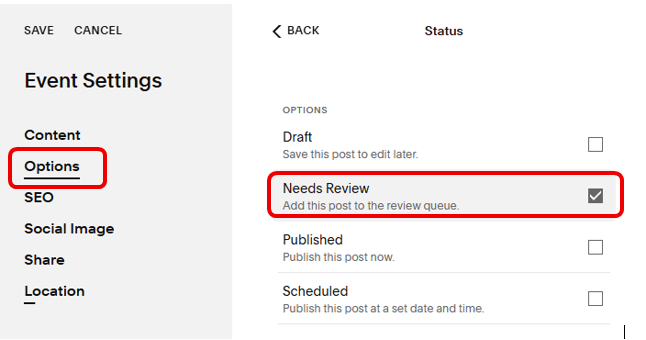
Email the Newsletter Editor and also Event Coordinator if it’s special, to let them review and approve it.
Once approved, change the status to either PUBLISHED or SCHEDULED. Now SAVE the change.
Currently the MailChimp app checks for a new event and does an automatic member mailout after midnight.
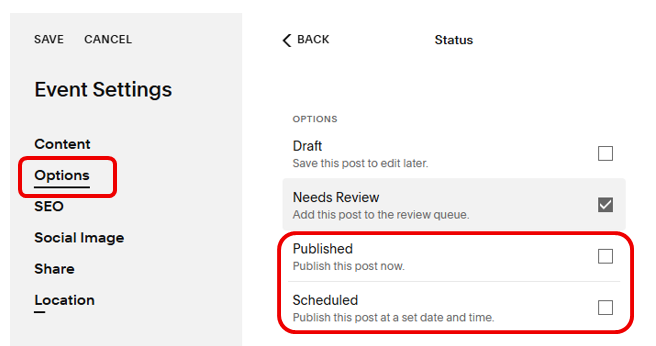
Scheduled: If selected, a calendar appears where you can select the date and time for publishing. SAVE your changes.
CAN’T FIND THE EVENT? The Events menu offers 2 choices: Upcoming Events or Past Events. A new event appears under Upcoming Events.