
Hide Glue and You! (or does your glue moo?...sorry)
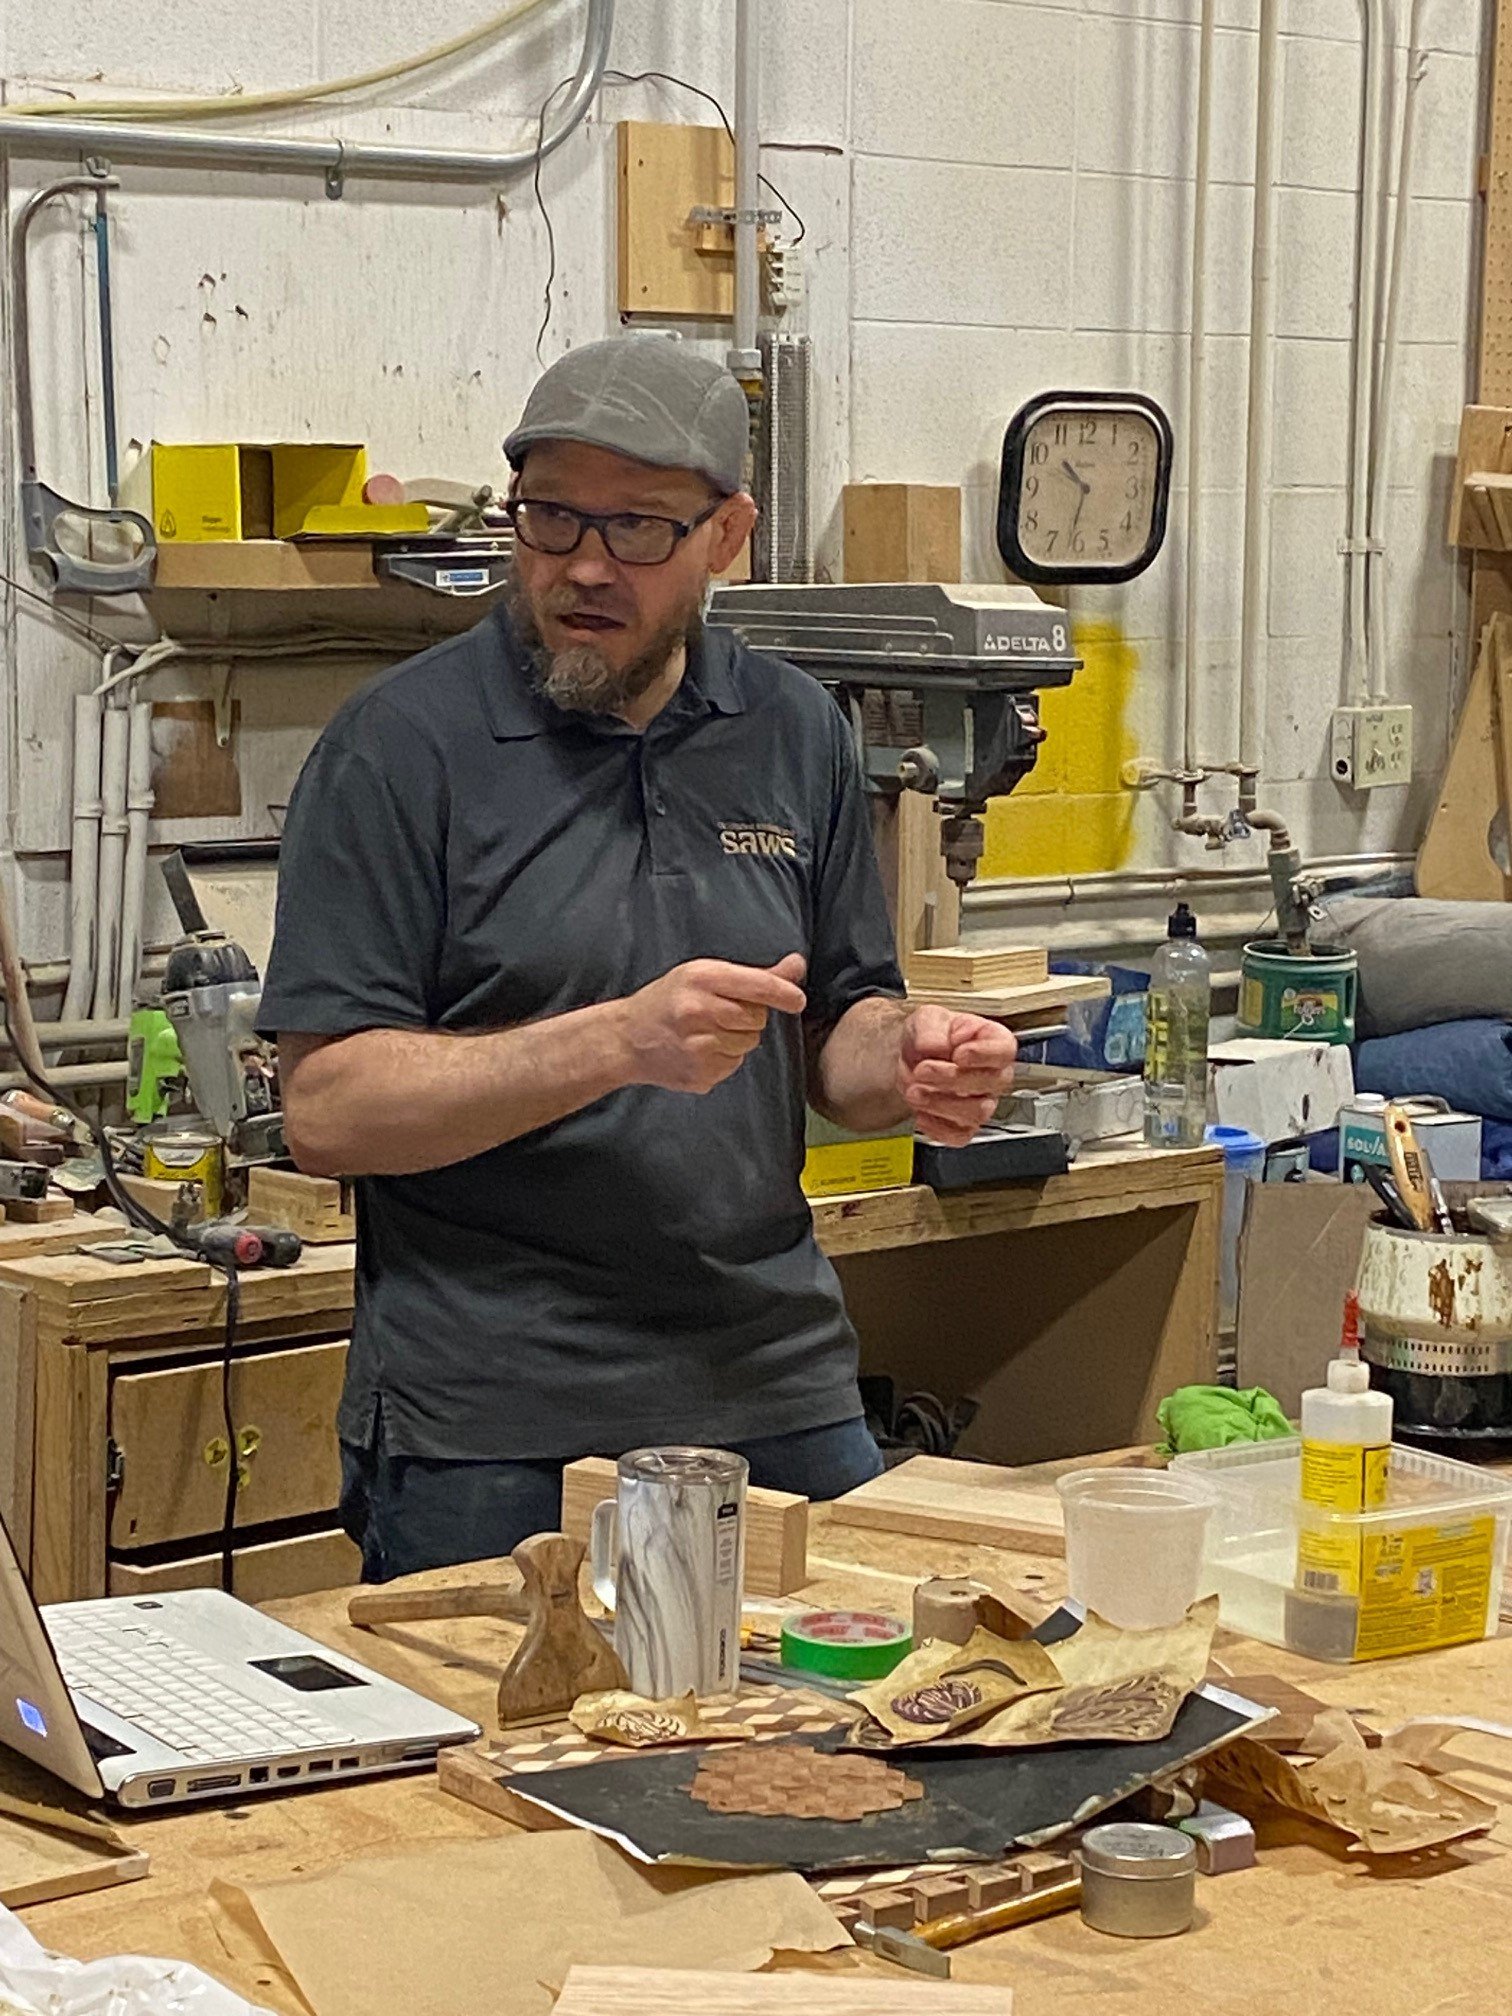
On February 11th I hosted a workshop on hide glue and hammer veneering. We had a wonderful turnout of 12 members (One member was brand new even, having just joined in January). I opened the workshop with a simple question: why don’t you use hide glue for fine furniture building? The most common answer amongst members: lack of knowledge on the subject.
Ryan Andrusky
Anyone who has chatted with me about hide glue (I am very sorry as well!) knows my passion for the stuff. This glue has been around for 8000 years (samples were found on items in the Dead Sea caves dating back this far) and has served woodworkers faithfully until the 20th century when synthetic adhesives became more commonplace.
Hide glue and its properties make it the ideal adhesive for woodworking and furniture building (as long as it is not a piece that will be exposed to heavy moisture or the elements; I don’t recommend using hide glue on a canoe either!).
I could go on and on about what I taught everyone, but I think it will be much simpler to attach a link to four different articles about hide glue that have such amazing information. After I was done explaining the various pros and cons of hide glue, I explained the process of making it and keeping it. To make it is simple: mix hard glue pearls or powder 50/50 with water, allow the water to soak in (this softens the glue) and then it is heated to 140F in a double boiler or other apparatus appropriate enough.
Part of the magic of hide glue comes from these two properties: heat and moisture. As the glue cools, it begins gelling which is the beginning of the setting of the glue. After it has cooled and set the moisture then evaporates to completely harden and cure the glue. Truly wonderful is the fact that these two properties can reverse the set glue. This property is much appreciated for restoration and conservation work.
After explaining these properties and the strengths of hide glue, I demonstrated hammer veneering. It is a deceptively simple process once you understand how the glue and woods interact and operate together. The goal of hammer veneering is to exploit the rapid setting of the glue and the vacuum created by expelling the glue from under a veneer. A less detailed run down of hammer veneering is as follows:
Prepare the surface to be veneered. I use a toothing plane to tooth the surface across the grain of my substrate.
When the glue is of the correct consistency, I prime the surface with hot water so the glue has time before it sets (you can heat the surface of the wood with a hair dryer as well).
I spread hide glue all over my substrate nice and evenly. Then I place my veneer face side down in the glue and spread more glue on the glue side of the veneer.
I flip the veneer over and using a veneering hammer (one with a brass head works best) force the glue from the middle of the veneer to the edges. As you apply force and expel glue from underneath, the cross section of the glue is reduced which encourages gelling and setting.
If all done correctly, you can place the piece aside and allow it to set. It does not need any further clamping or vacuum bags etc.
This is obviously a brief overview of what I taught, but hopefully it inspires others to want to try out this traditional technique and glue.
Finally, even if all these amazing qualities don’t change your mind, do yourself a favor and get some old brown glue from Lee Valley. You can freeze it to keep it indefinitely. This glue is amazing for fine furniture building, the strength is comparable to other glues like PVA and Titebonds, it is reversible and has a very long open time (30 minutes, and if it does begin to set you can warm it back up with a hair dryer).
Don’t ever worry about tough glue ups again; use old brown glue and take your time and save your hair!
If anyone missed the class and would like to learn about hide glue, I have the glue pot on most nights and can accommodate guests on their time if they want to contact me.
Finally, here is a link to the resource articles mentioned: https://www.oldbrownglue.com/index.php/articles

All enjoyed the hands on experience and the audience included one member connected online.


Photos by Tam Godfrey and Terry Hockaday